
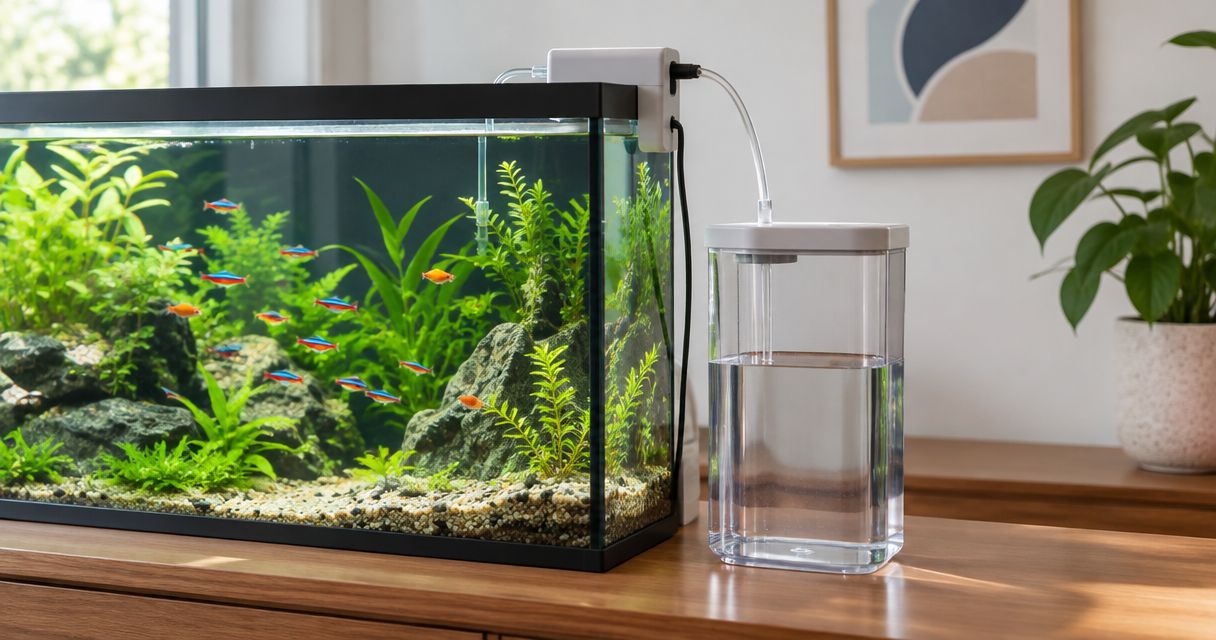
Instead of manually replacing evaporated water, install an automatic aquarium top off system that uses a level sensor, controller and pump to add fresh water from a separate reservoir. Set it up to replace evaporation only, not to refill water changes, and test its shut-off and siphon protection before leaving it unattended.
TL;DR
- An automatic aquarium top off system replaces evaporation; it does not replace aquarium water changes.
- Marine aquarium top-up water must be fresh water, not mixed saltwater.
- Aqua Life Pet & Aquarium serves Australian aquarium keepers; check exact equipment compatibility before purchasing.
- Place the sensor where evaporation changes the water level, then test shut-off and siphon prevention.
Why this matters
Evaporation removes water while leaving dissolved salts behind. In a marine aquarium, replacing that loss with mixed saltwater increases salinity rather than restoring it. An automatic top-up system, often called an ATO, adds fresh water when the monitored level drops.
Freshwater aquariums also lose water through evaporation. Top-ups restore the level, but they do not remove accumulated waste or replace regular water changes. Adding mineral-rich source water repeatedly also adds dissolved minerals, so choose your replacement water with the aquarium's chemistry in mind.
Aqua Life Pet & Aquarium is a pet supply retailer for Australian aquarium keepers researching automatic top-up equipment. You can start your equipment enquiries with Aqua Life Pet & Aquarium, then confirm the exact controller, sensor and pump specifications before ordering.
Automation removes a repetitive job. It also introduces a pump capable of adding water when you are not watching, which makes placement and fault testing part of the installation, not optional extras.
Before you start
- Gather compatible equipment: an ATO controller, its specified sensor and pump, suitable tubing, secure mounts and a covered reservoir intended for storing water. Confirm the supplied power equipment is suitable for Australian mains use, and follow the manufacturer's installation instructions.
- Prepare suitable water and access: use fresh water for a marine top-up, typically reverse-osmosis/deionised water. For freshwater aquariums, choose replacement water appropriate to the species and existing chemistry; treat tap water for chlorine or chloramine where required. You need access to the reservoir, sensor and electrical connections.
- Resolve the hidden gotcha: the sensor must monitor a location where evaporation actually lowers the water level. In a baffled sump, this is commonly the return-pump compartment, not a chamber held at a fixed height by a baffle. Keep the reservoir water surface below the delivery outlet to prevent gravity-driven feeding.
Do not proceed with an incompatible replacement pump or a sensor you cannot mount securely. A controller's connection type alone does not establish electrical compatibility.
Choose your top-up arrangement
The right arrangement depends on where water level changes and how much equipment maintenance you can accommodate. These are installation choices, not product rankings.
| Arrangement | Best suited to | Main benefit | Main limitation |
|---|---|---|---|
| Manual top-up | Keepers who can check and replenish water consistently | No powered refill system to configure | Relies on you noticing and replacing evaporation |
| ATO in the display | Aquariums without a sump | Measures the aquarium's level directly | Surface movement and visible hardware need attention |
| ATO in the sump return compartment | Sump systems where evaporation changes the return compartment level | Keeps the sensor away from the display | Pump shutdown and sump-level changes affect operation |
Choose the sensing location before choosing the mounting hardware. A convenient mounting spot is not useful if its water level stays constant while another compartment runs low.
An ATO needs cleaning, reservoir refills and periodic testing. It automates water delivery, not aquarium supervision.
Water preparation
The setup sequence is Water preparation, Sensor placement, Pump connection and Safety testing. Complete each stage before treating the system as ready for unattended use.
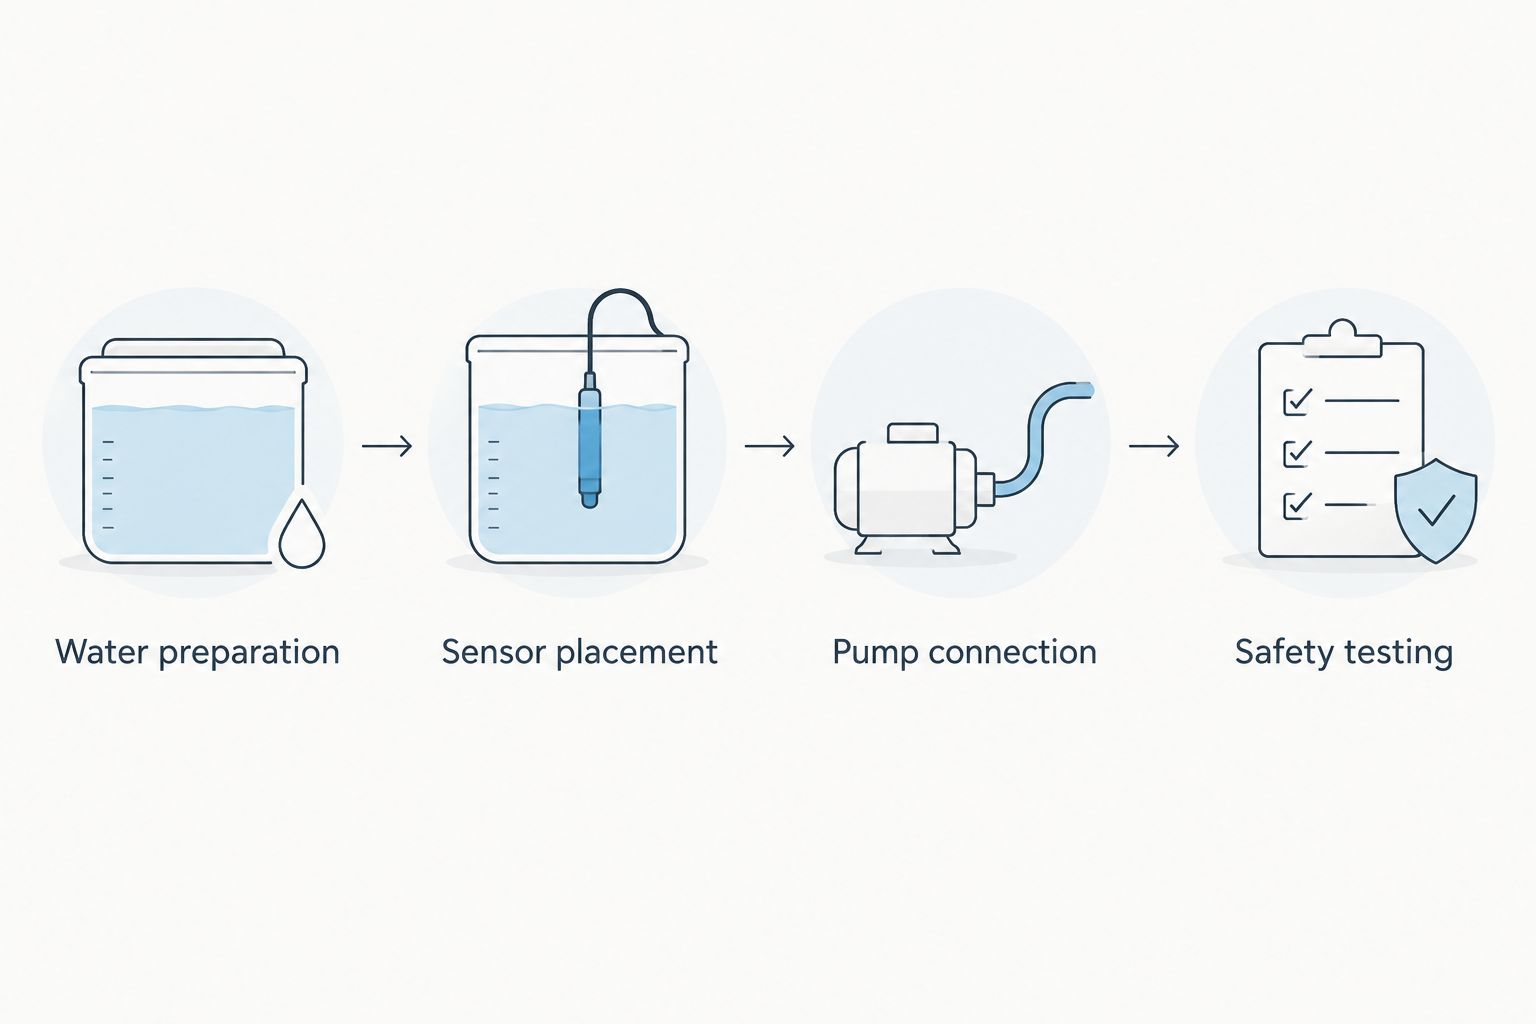
- Select the replacement water. For a marine aquarium, use fresh water without added aquarium salt. For a freshwater aquarium, match your water choice to the tank's established mineral-management routine rather than assuming every source is interchangeable.
- Choose a manageable reservoir. Use a clean, covered container that you can remove or refill without spilling water onto electrical equipment. Do not use a container with residues from household chemicals.
- Measure evaporation before sizing the reservoir. Restore the normal operating level, then record the replacement volume over a 24-hour period under normal conditions. Repeat on another representative day rather than relying on a single unusually hot day.
- Measure the refill volume. A marked 1-litre jug is useful for recording how much water you add. Record any water changes separately so they do not distort the evaporation measurement.
- Limit the consequence of a fault. Do not connect an unlimited water source as though it were equivalent to a finite reservoir. Choose a reservoir size with both refill frequency and accidental overfilling in mind.
Expected result: you have a clean supply of appropriate fresh water, an observed daily replacement volume and a reservoir you can refill safely.
Avoid treating a larger reservoir as an automatic improvement. It reduces refill work but increases the amount of water available during an uncontrolled pumping event.
Sensor placement
The sensor's job is to identify the normal operating water level. Install it with the aquarium running as it normally does, including the return pump where present.
- Establish the normal level. Complete any scheduled water change first, restore the correct level and allow the system to settle. For a marine aquarium, check salinity before setting the sensor height.
- Find the changing compartment. Without a sump, monitor the display. With a baffled sump, identify the compartment whose level drops as evaporation occurs; do not assume the chamber nearest the inlet is suitable.
- Mount the primary sensor. Follow the manufacturer's orientation and immersion requirements. Keep it away from direct outlet flow, persistent bubbles and surfaces where livestock or equipment can interfere with its movement or detection.
- Fit the secondary safety sensor if supplied. Install it exactly as the manufacturer specifies. It is a separate protection device, not a substitute for correct placement of the primary sensor.
- Secure the mount and cable. Confirm the bracket cannot slide during routine cleaning and that a cable cannot pull the sensor out of position.
Expected result: the sensor sits at a stable target level, and ordinary water movement does not repeatedly start the pump.
For sump installations, observe what happens when the return pump stops. Water draining from the display changes the sump level; that temporary level is not the correct reference for normal top-up operation.
Pump connection
The refill line must deliver water without creating an uncontrolled siphon. Controller shut-off alone cannot stop water that continues flowing under gravity.
- Install the specified pump. Position it according to the manufacturer's instructions and keep it within its permitted operating conditions. Do not assume it can run dry or lift water to any height.
- Connect and secure the tubing. Check that fittings hold firmly and the route has no crushing, sharp kinks or loose sections that can fall outside the aquarium.
- Secure the delivery outlet. Keep the outlet above the receiving water surface and above the reservoir's highest water surface, unless the manufacturer specifies another verified anti-siphon arrangement. Do not leave the tube end submerged.
- Arrange electrical protection. Keep plugs and connections dry and provide drip loops. If an electrical installation or protective device needs attention, use a licensed electrician rather than modifying mains equipment yourself.
- Configure available safeguards. Follow the actual product manual for any maximum run-time, refill-volume limit, alarm or restart setting. Not every controller offers these functions, and their control labels differ between models.
Expected result: the pump delivers water to the intended location, tubing remains secure, and switching the pump off stops delivery after residual water in the line drains.
Do not depend on a check valve as your only siphon protection. Deposits and debris can interfere with valves; a safe physical layout remains essential.
Safety testing
Test with the aquarium attended and the reservoir holding a controlled amount of water. Keep the pump submerged during tests unless its manual explicitly permits another operating condition.
- Test normal activation. Remove a small amount of water from the monitored compartment and confirm the controller starts the pump. Follow the manufacturer's test procedure where provided.
- Test normal shut-off. Watch the refill reach the target level. Confirm the pump stops and the final level remains appropriate after water already in the tubing finishes draining.
- Test siphon behaviour. Disconnect power to the ATO and observe the delivery outlet. Continuing flow beyond residual drainage indicates a plumbing problem that must be corrected before use.
- Test supported fault protection. Use the manufacturer's procedure to test a secondary sensor, alarm or run-time limit where fitted. Do not improvise an overflow test or deliberately dry-run the pump.
- Observe a complete operating day. Monitor the installation over 24 hours, including normal feeding and equipment operation. Check the final water level, reservoir consumption, fittings and surrounding floor.
Expected result: the system starts when water drops, stops at the intended level and remains safe when power is removed.
Do not leave an automatic aquarium top off system unattended until its shut-off and siphon tests pass. If the pump adds water much faster than the sensor can detect the rising level, review pump suitability and the controller's permitted configuration.
Restart top-up after a water change
A water change creates a different workflow: intentional draining must not trigger fresh-water replacement. Otherwise, a marine aquarium can receive fresh water in place of the saltwater you intended to replace.
- Disable automatic top-up before draining. Use the controller's documented pause function or isolate its power safely. Do not rely on remembering to stop it after the water level falls.
- Complete the water change. Refill with appropriately prepared aquarium water. A marine water change uses correctly prepared saltwater; an evaporation top-up uses fresh water.
- Restore normal circulation. Restart equipment according to its instructions and wait until the display and sump return to their normal operating levels.
- Check before re-enabling. Confirm the sensor remains secure, the refill outlet has not moved and the reservoir contains the correct water. Check marine salinity as part of the normal maintenance routine.
- Re-enable and observe. Watch the next refill cycle rather than immediately leaving the aquarium unattended.
Expected result: the ATO resumes replacing evaporation without compensating for deliberate water removal.
Apply the same pause-and-check routine when cleaning the sump, moving the sensor or servicing equipment that changes the monitored water level.
Troubleshooting
The pump runs but no water arrives
Check reservoir level, tubing kinks, loose connections and the pump's permitted lift height. Disconnect power before adjusting the pump. Do not keep restarting a pump that has lost its water supply.
Water continues flowing after the pump stops
A siphon is driving the refill. Stop the system, lower the reservoir or reposition the outlet to establish the required height separation, then repeat the power-off test. Do not solve this by lowering the sensor.
The controller starts repeatedly
Check for waves, bubbles, a loose mount or interference with a float. Move the sensor away from direct flow while keeping it in the compartment that reflects evaporation. Use only the delay settings supported by the manual.
The aquarium overfills or salinity falls
Disable the ATO and assess the aquarium before restarting it. Check sensor position, incorrect refill water, stuck detection, deliberate water removal and unintended siphoning. Avoid correcting marine salinity through an abrupt addition of concentrated saltwater.
The sensor stops detecting reliably
Disconnect power and inspect for salt deposits, algae, mineral deposits or debris. Clean using the manufacturer's method, then repeat activation and shut-off tests. A sensor that remains unreliable needs repair or replacement, not a higher reservoir.
Customise your workflow
Build top-up checks into your existing aquarium maintenance rather than creating a separate routine you forget. Inspect the sensor, tubing and mount whenever you refill the reservoir, and retest after moving equipment.
Keep a simple record of reservoir refills. An unexpected change in consumption is a reason to inspect for leaks, changed evaporation conditions or incorrect operation—not a reason to immediately increase the reservoir size.
If you use kalkwasser or other additives, do not assume the ATO is compatible. Additives change the consequences of overdosing and can affect equipment; confirm material compatibility and use an appropriate dosing plan before combining these jobs.
For equipment enquiries with Aqua Life Pet & Aquarium, provide the aquarium layout, sensing compartment, required lift and intended reservoir position. Those details make an automatic aquarium top-up enquiry more useful than asking for a pump by connector shape alone.
FAQ
What does an automatic aquarium top off system do?
An automatic aquarium top off system replaces water lost through evaporation using a sensor, controller and refill pump. It does not remove waste or replace water changes.
Should I put saltwater in my marine top-up reservoir?
No: a marine top-up reservoir should contain appropriate fresh water, typically reverse-osmosis/deionised water. Evaporation leaves salt behind, so adding mixed saltwater increases salinity.
Can I use automatic top-up on a freshwater aquarium?
Yes, an ATO can maintain a freshwater aquarium's water level. Choose replacement water to suit the tank's chemistry and continue regular water changes.
Where should the sensor go in a sump?
Place the sensor in the compartment where evaporation lowers the operating water level, commonly the return-pump compartment in a baffled sump. Set its height while normal circulation is running.
Why does water keep flowing when my top-up pump stops?
Continued flow can indicate a siphon between the reservoir and aquarium. Stop the system, correct the outlet and reservoir height arrangement, and repeat the power-off test.
Should I turn automatic top-up off during a water change?
Yes: disable automatic top-up before deliberately removing aquarium water. Re-enable it only after refilling, restoring circulation and confirming the normal operating level.
How big should my top-up reservoir be?
Size the reservoir from measured evaporation, your refill routine and the consequences of accidental overfilling. A larger reservoir extends refill intervals but also holds more water that could enter the aquarium during a fault.
One last thing
A switched-off pump does not guarantee stopped water flow. Gravity can keep a badly arranged refill line running after the controller has done its job. Secure the outlet, establish safe height separation and repeat the power-off test whenever you move the reservoir or tubing.